This guide covers the Free Benchmarks onboarding flow. It creates a workspace focused on benchmarking and does not start a trial automatically. If you want to set up the full DevStats platform instead, follow Get started in 10 minutes.
Prerequisites
Before you begin, make sure you have:
- A work email address.
- Access to at least one supported version control provider or issue tracker.
- Permission to authorize DevStats and select the repositories or projects you want to benchmark.
Step 1: Create your free account
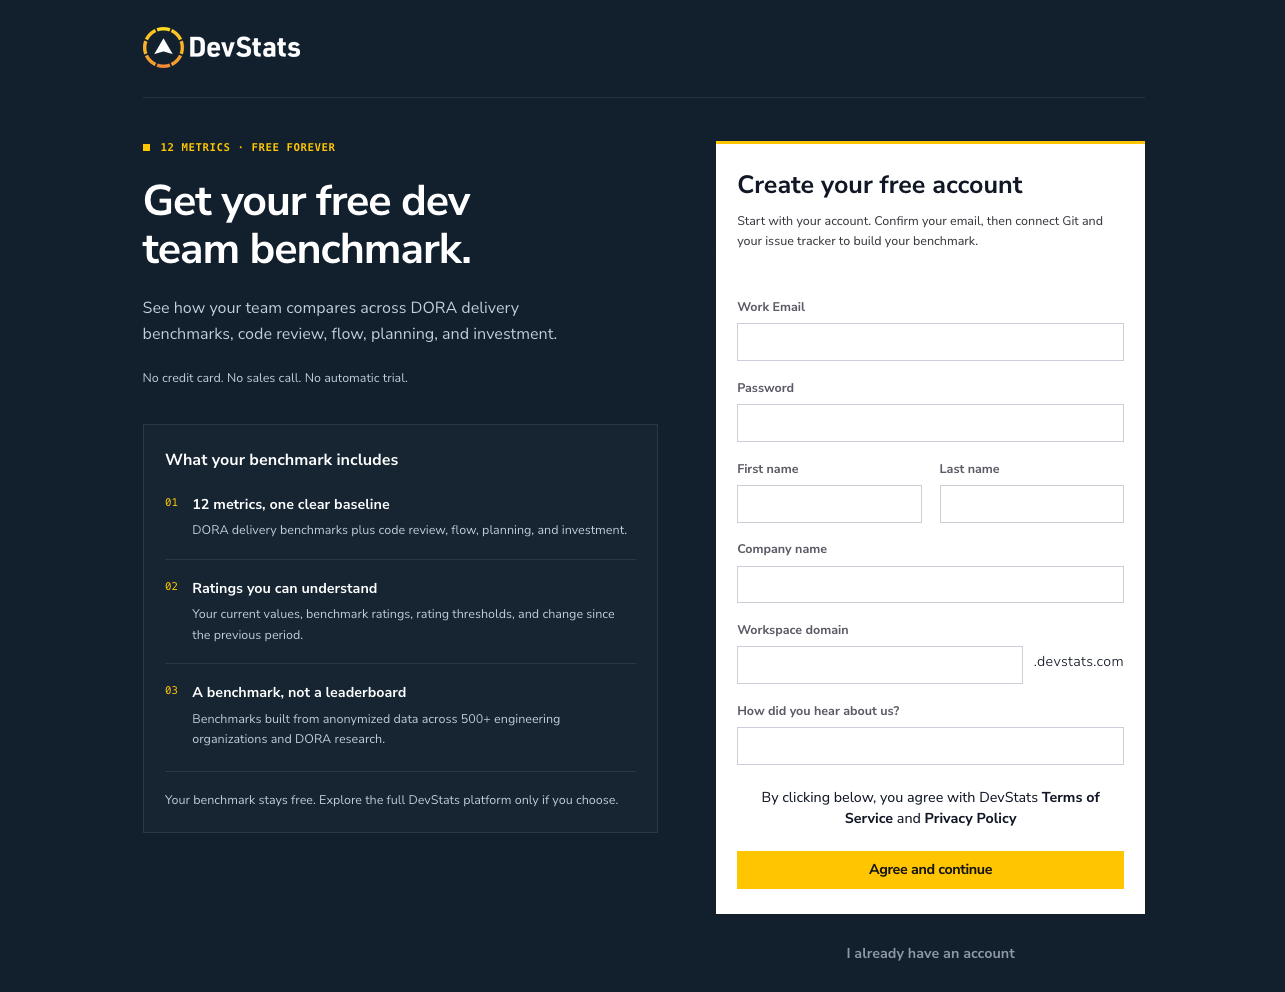
Open the Free Benchmarks registration page, complete the form, and verify your email address using the message sent to your inbox.
DevStats creates your workspace and a default squad automatically, so you do not need to create a squad during this flow.
Step 2: Choose your tools
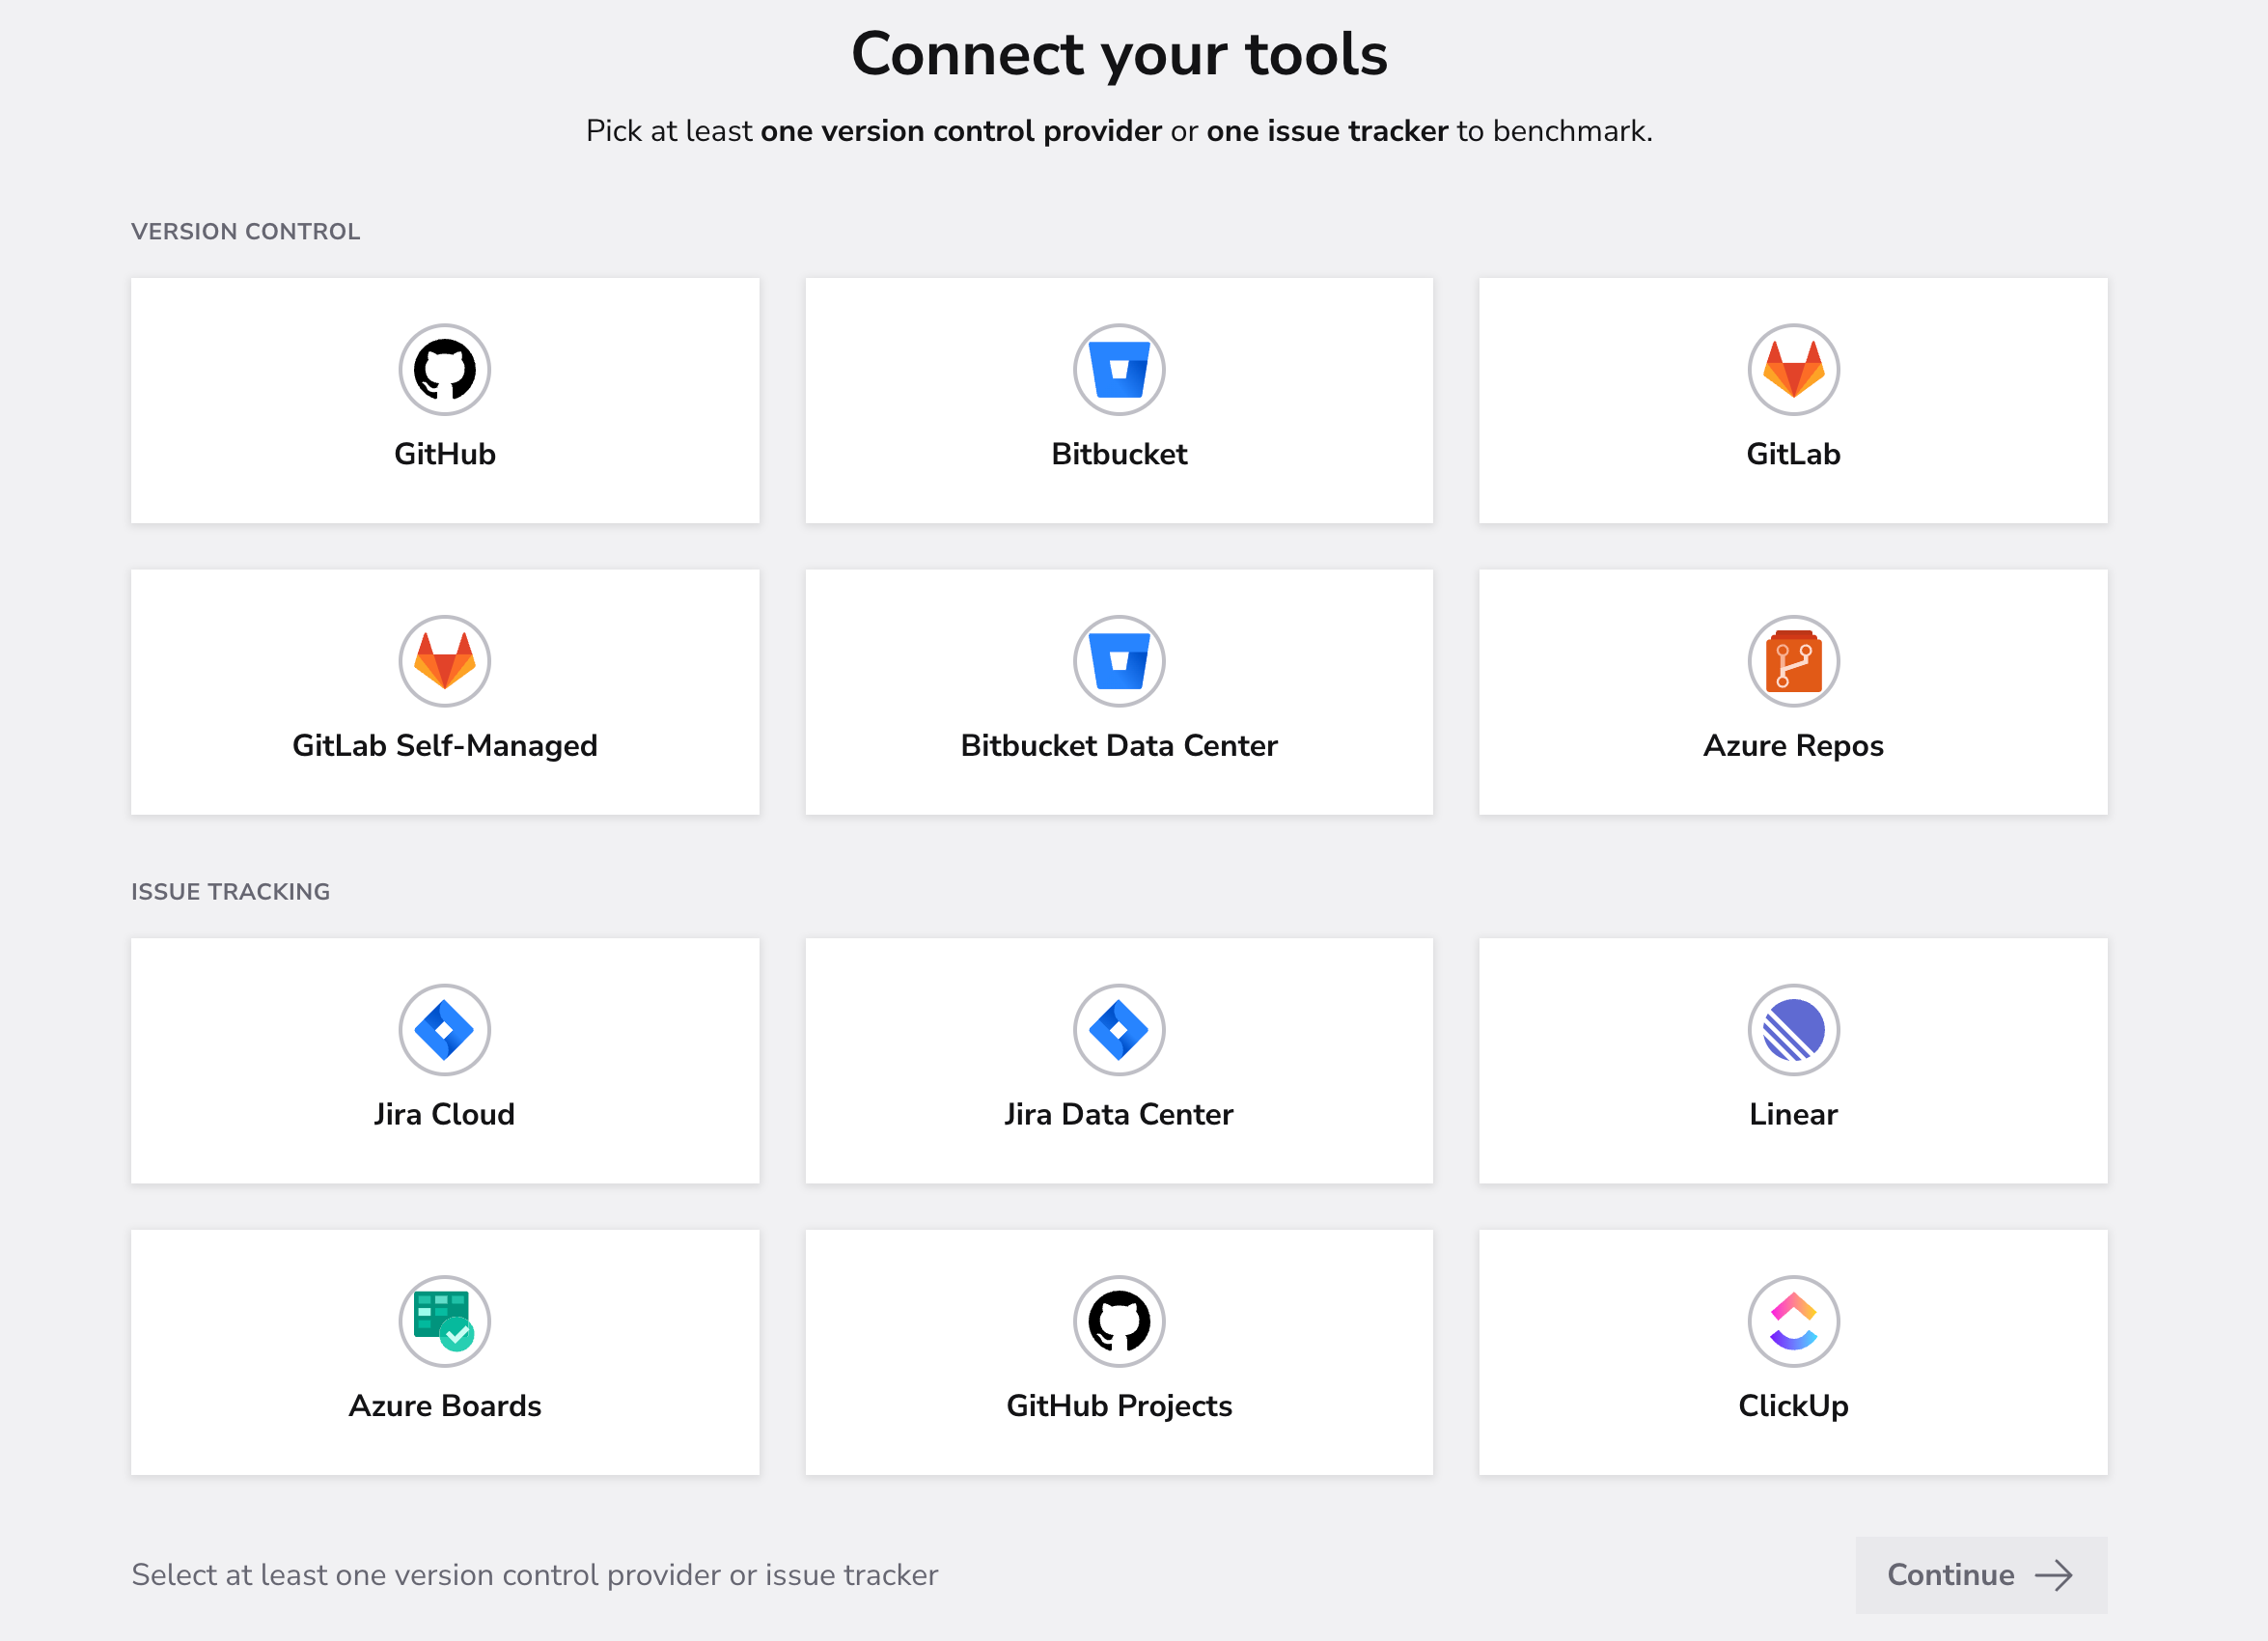
After verifying your email, choose at least one version control provider or one issue tracker. Connecting one of each provides a broader set of benchmark metrics, but it is not required to continue.
Version control providers
| Provider | Setup guide |
|---|---|
| GitHub | View guide |
| GitLab | View guide |
| GitLab Self-Managed | View guide |
| Bitbucket | View guide |
| Bitbucket Data Center | View guide |
| Azure Repos | View guide |
Issue trackers
| Provider | Setup guide |
|---|---|
| Jira Cloud | View guide |
| Jira Data Center | View guide |
| Linear | View guide |
| Azure Boards | View guide |
| GitHub Projects | View guide |
| ClickUp | View guide |
Select the tools you want to connect, then click Continue.
Step 3: Authorize your tools
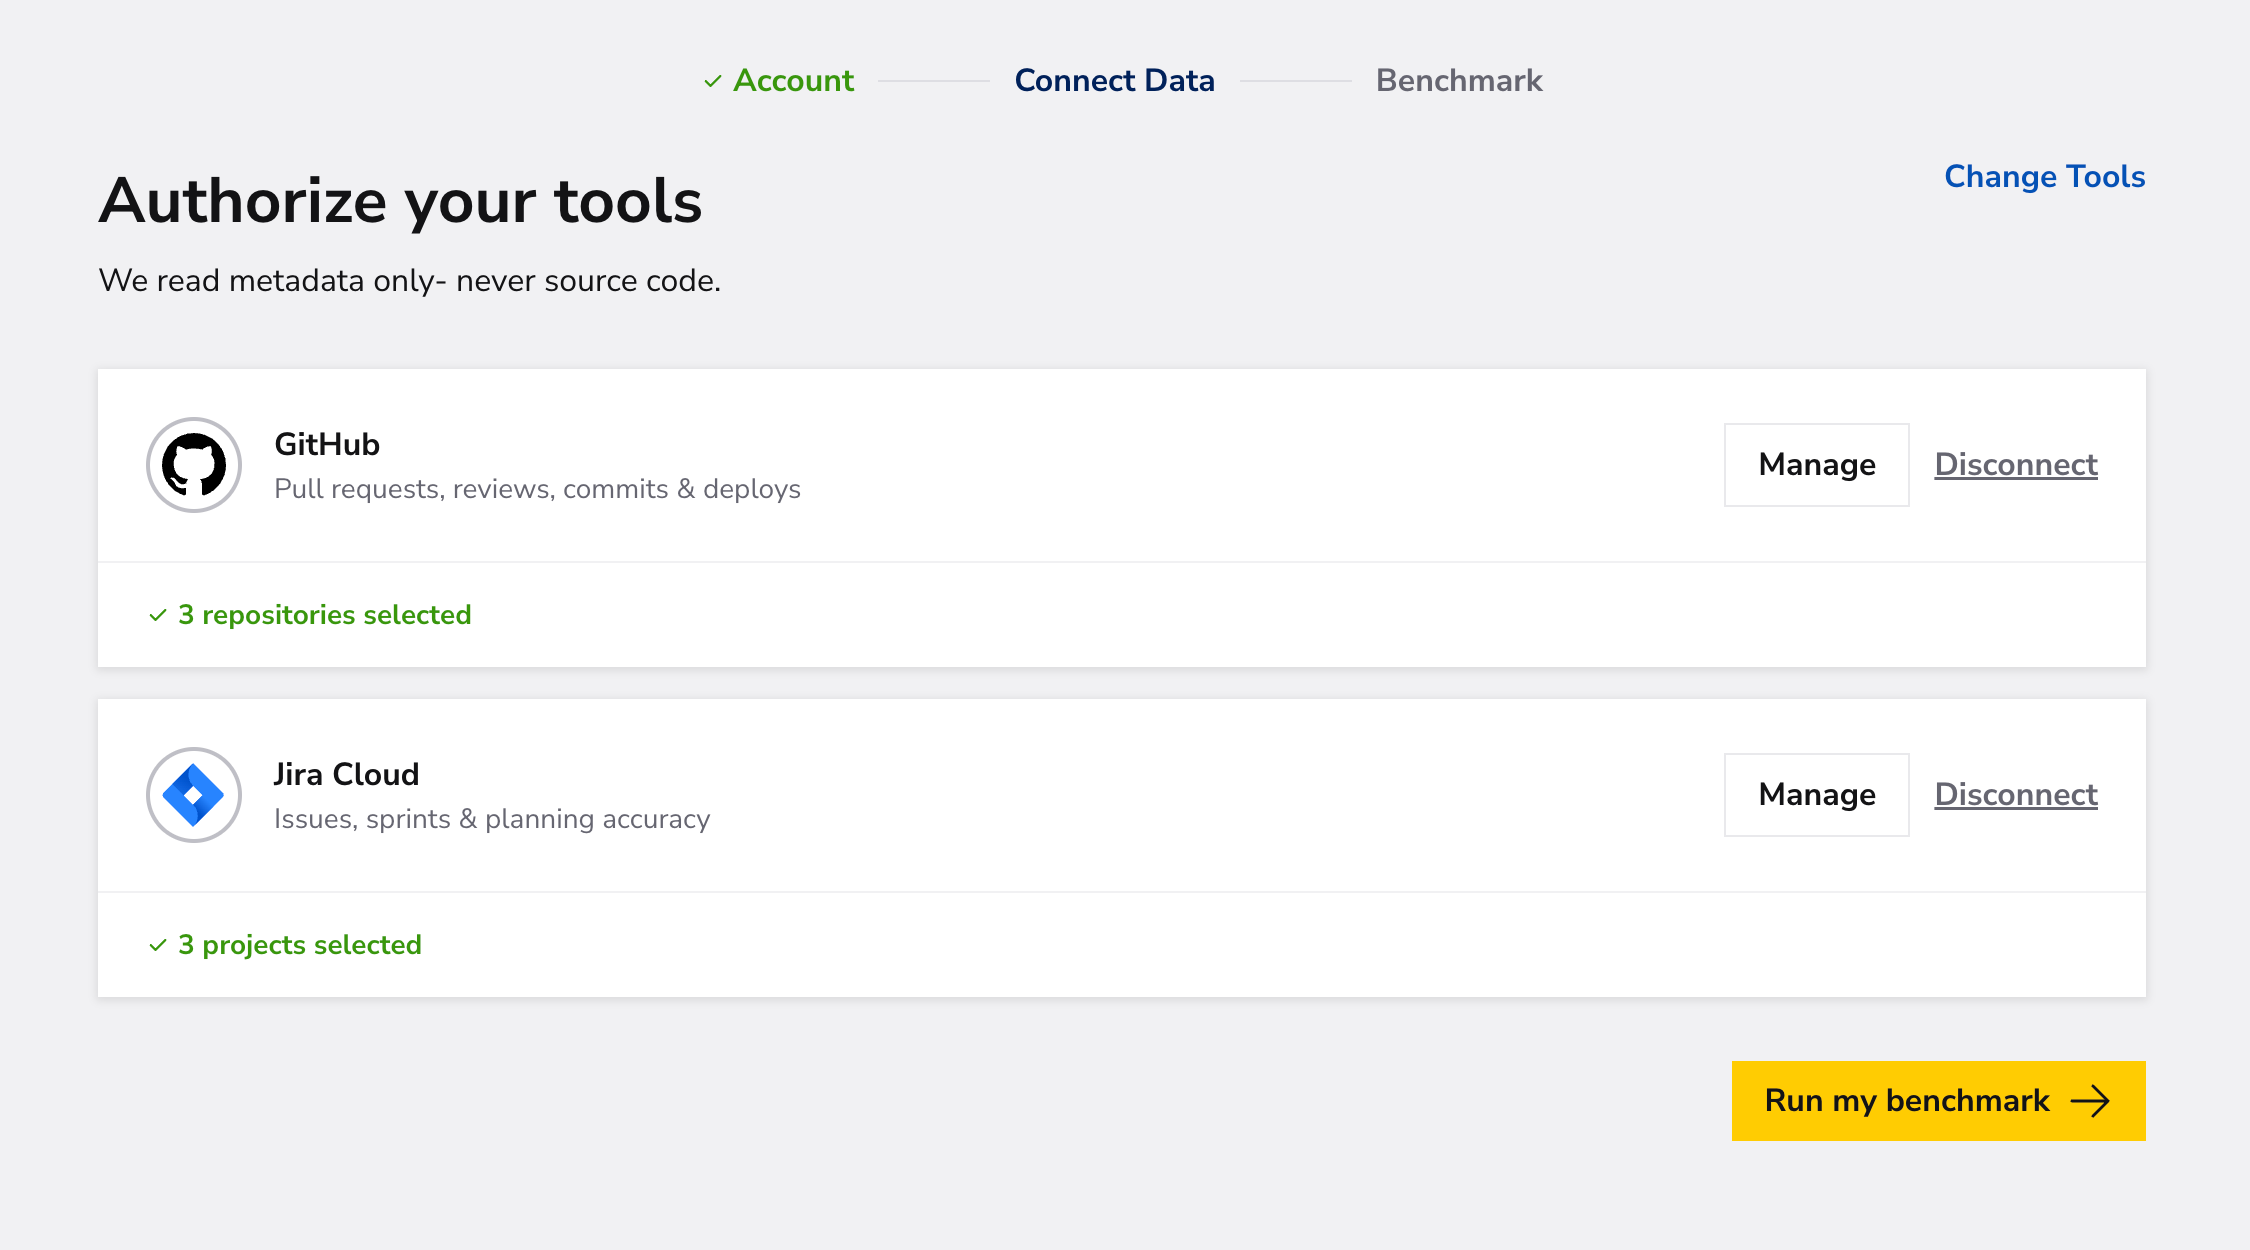
Click Connect for each selected tool, complete its authorization flow, and select the repositories or projects you want DevStats to read. Use the provider-specific guides above if you need detailed setup instructions.
When every selected tool is ready, click Run my benchmark.
Step 4: Wait while DevStats builds your benchmark
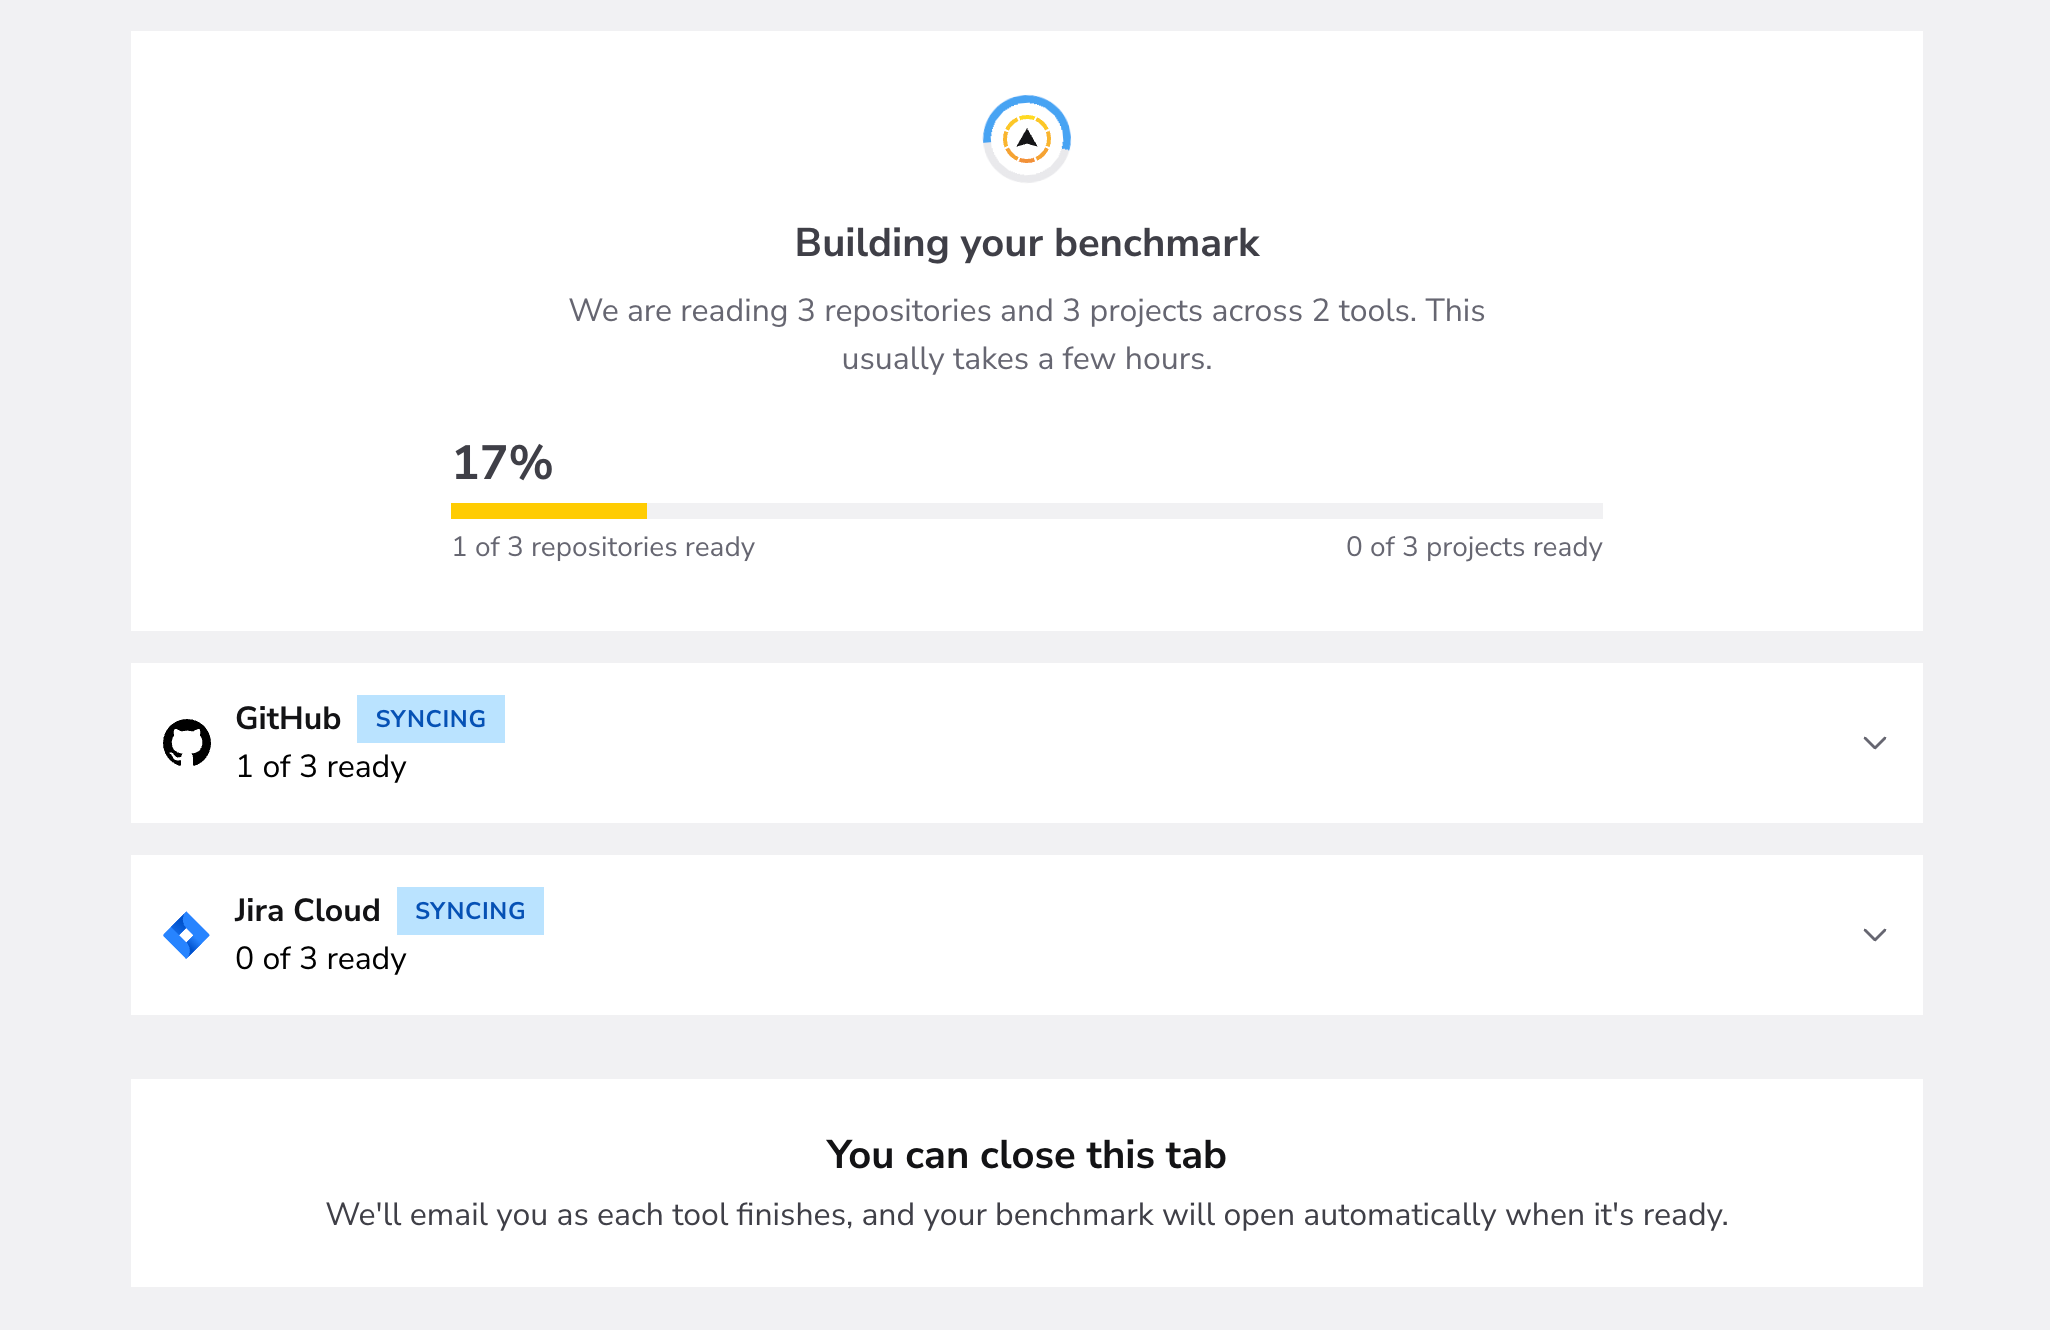
DevStats shows the progress for each connected tool, repository, and project. Building the benchmark usually takes a few hours. You can close the tab while it runs; DevStats emails you as each tool finishes and opens the benchmark automatically when it is ready.
Step 5: Review your results
When processing is complete, DevStats opens the Benchmarks dashboard. Learn how to interpret its metrics in Benchmarks and how to use the results in Benchmarking.