Overview
This guide explains how to connect your ClickUp account to DevStats, allowing us to track your metrics.
The ClickUp API does not retain a history of status and iteration changes, so past data cannot be recovered. However, once the integration is activated, all future changes will be captured via webhooks, ensuring precise and up-to-date synchronization.
Steps
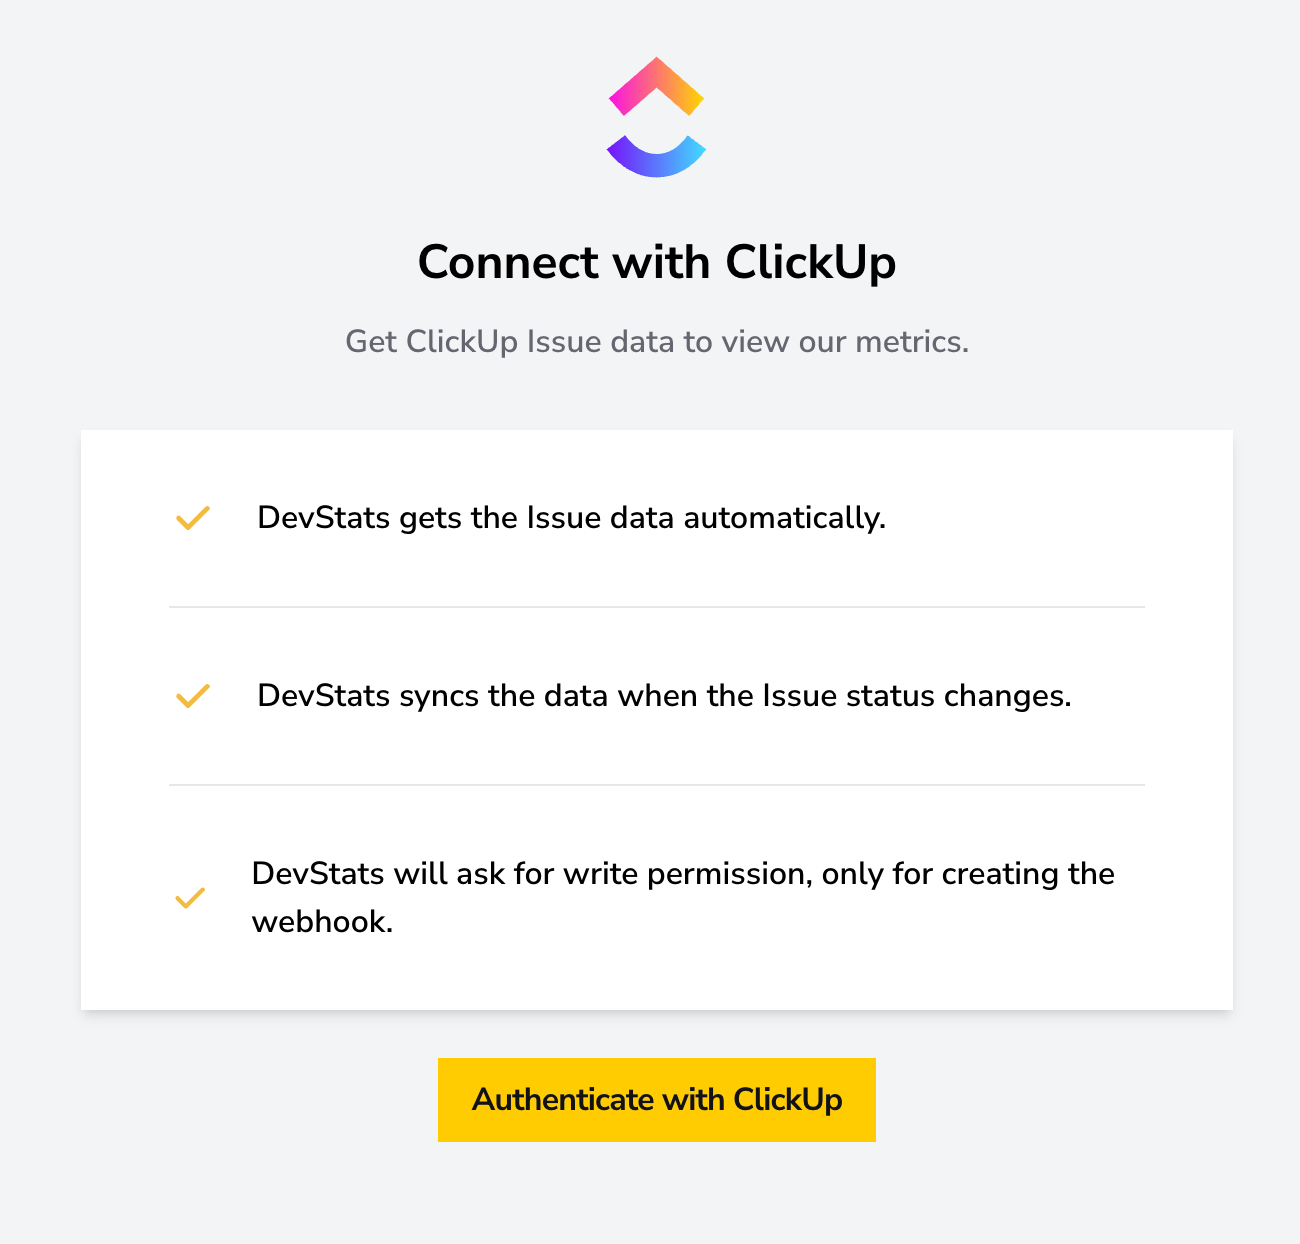
Click the "Authenticate with ClickUp" button, and you'll be redirected to log in to ClickUp.
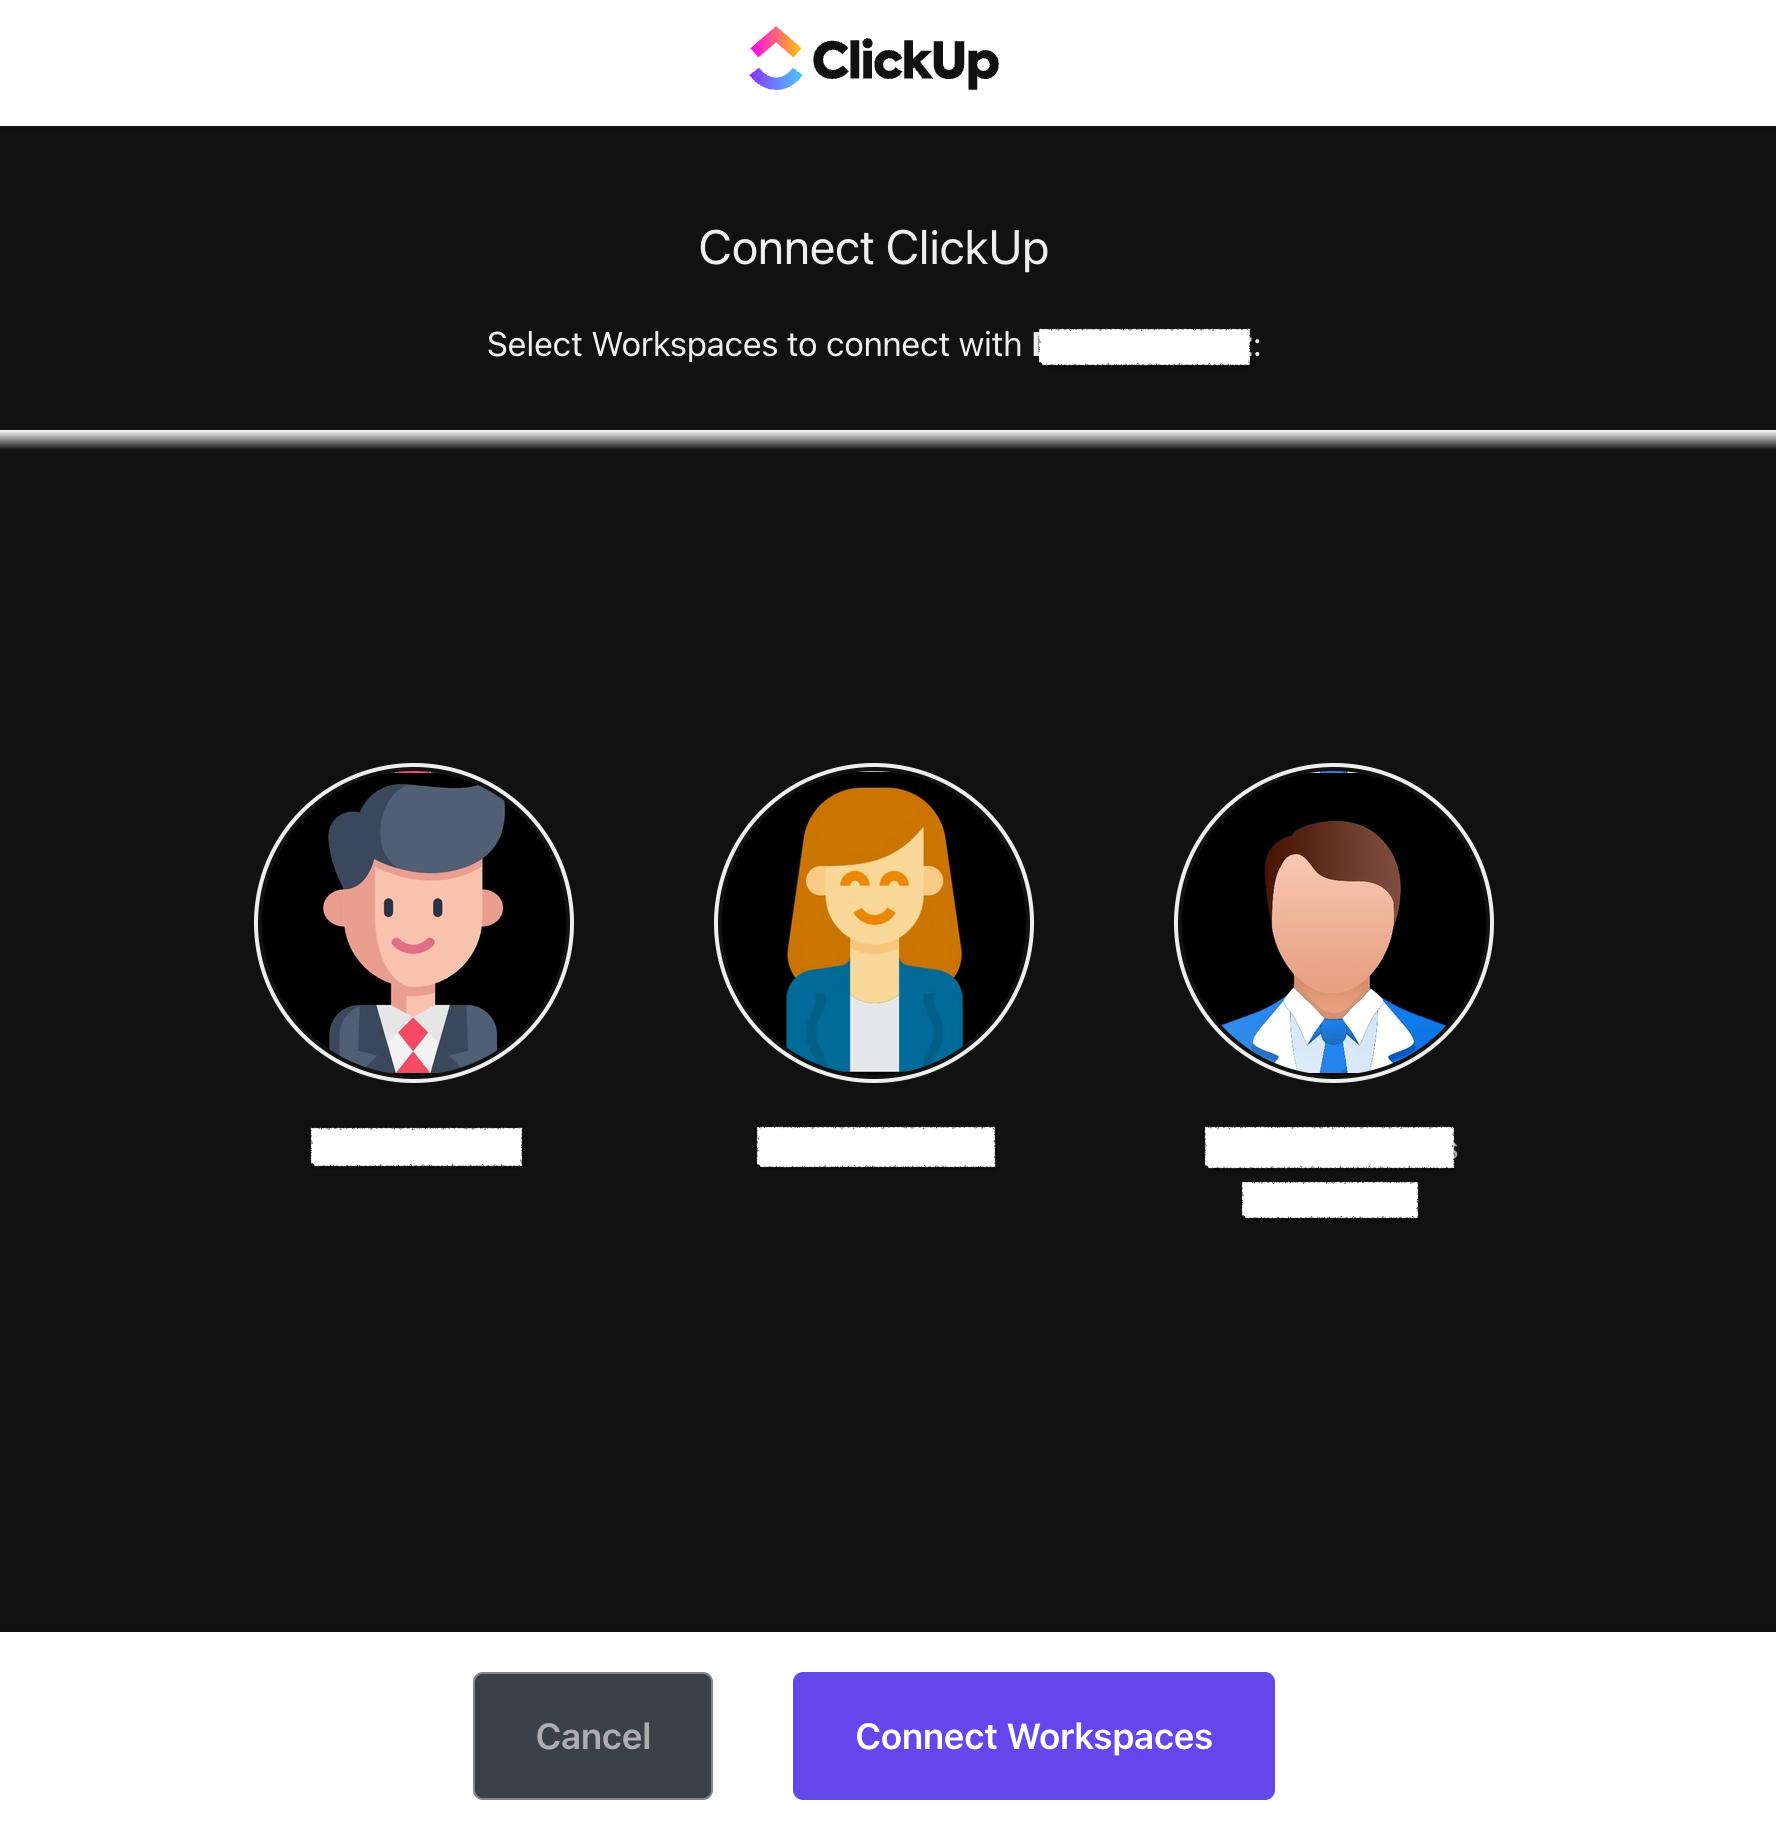
Once you're logged in, you will need to grant DevStats access so it can track your metrics.
Remember to select your workspaces and click the Connect Workspaces button on the authentication page. If you skip this step, ClickUp will redirect you back to DevStats without granting access to your workspaces.
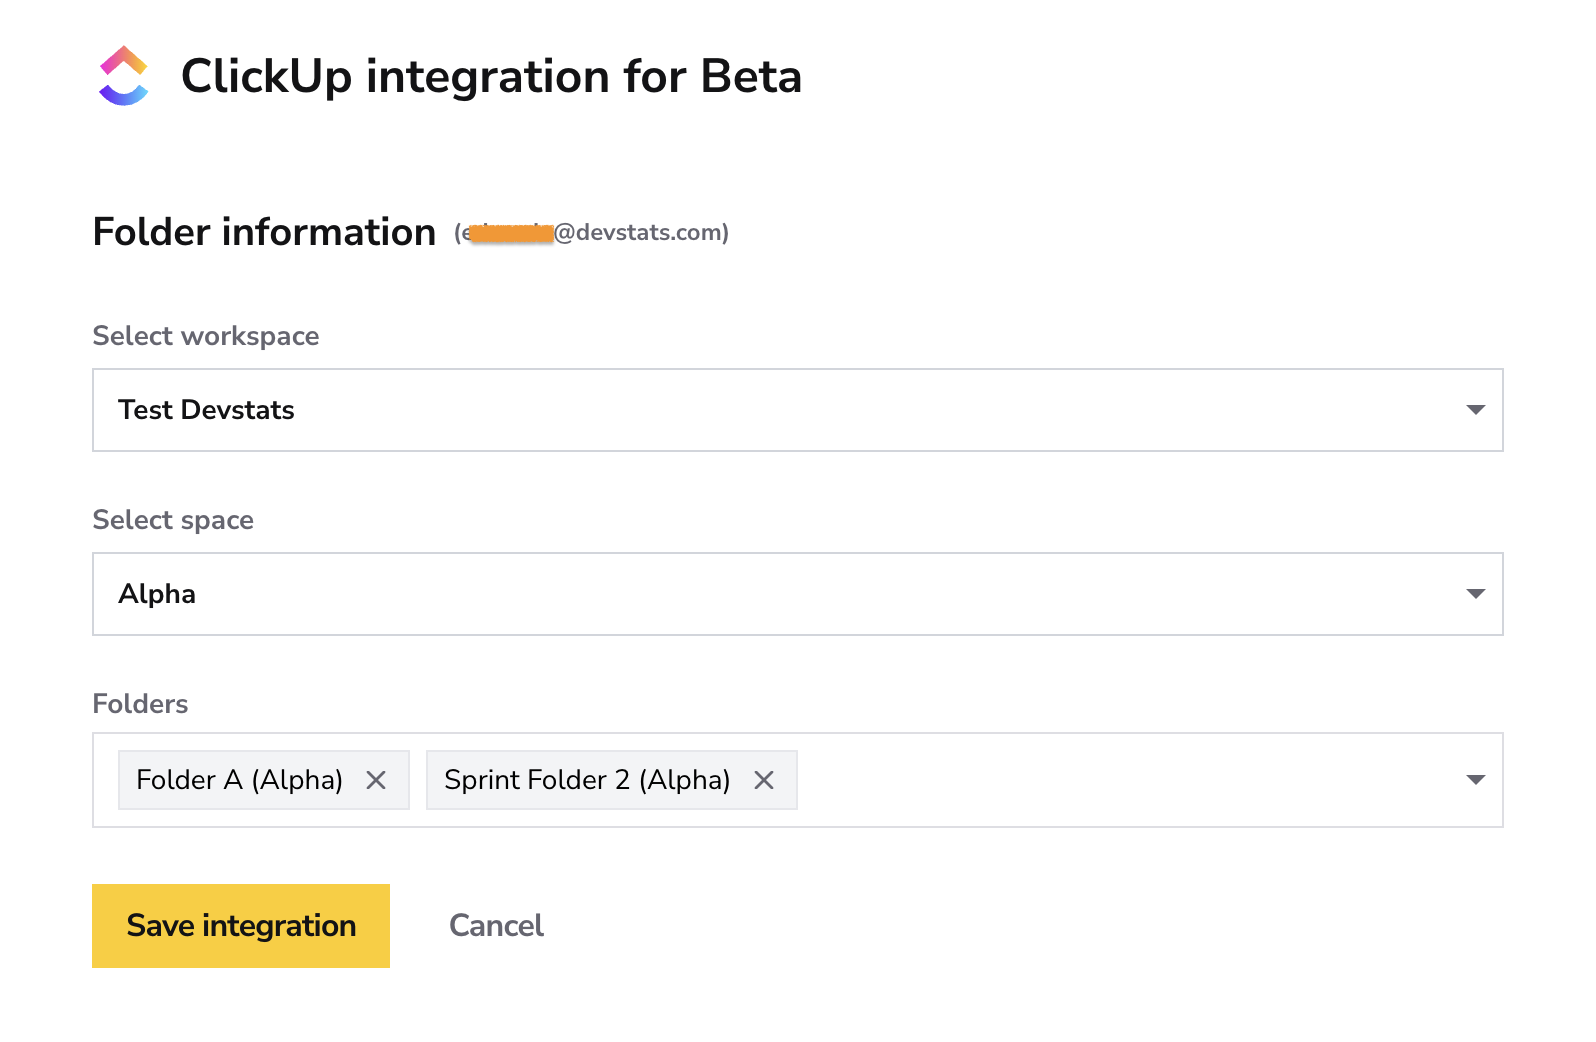
Choose the folders you want DevStats to track for this squad, then click Save Integration.
DevStats maps ClickUp Folders as Projects. Each Folder inside a Space is treated as a separate Project in DevStats, allowing a more precise alignment with how teams usually organize their work in ClickUp.
✅ Verify Integration
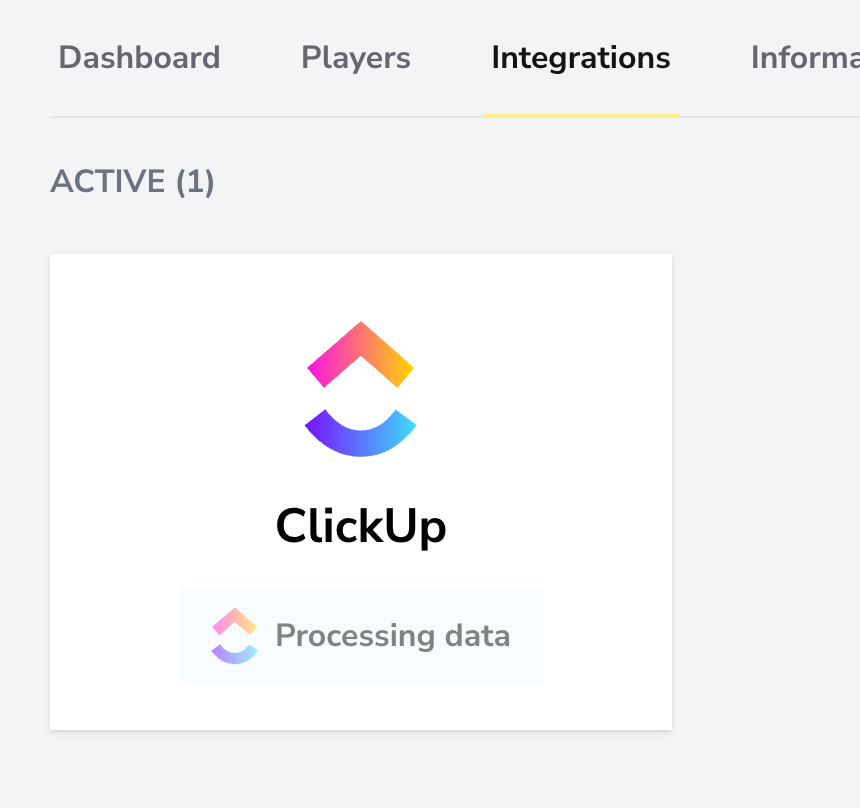
After saving your integration, you may see a message indicating that the data is being processed. Depending on the size and history of your projects, this process may take anywhere from an hour to more than a day.
Sprints
On ClickUp, sprints are represented as lists, but the API does not distinguish between regular lists and sprint lists. To work around this limitation, DevStats treats any list with both a start and end date as a sprint. If you don’t want a list to appear as a sprint in DevStats, simply remove either the start or end date, and DevStats will automatically ignore it.
When a task belongs to multiple sprints, DevStats will always consider the oldest sprint as the task’s current sprint. To update a task’s sprint, remove it from the unwanted sprint in ClickUp, and the change will be automatically reflected in all reports.